0 item(s)
View cart
You have no items in your shopping cart.
Whether you’ve just bought your first RV or rented one to test the waters, your introduction to RV camping is an exciting experience. Some maintenance aspects of your camping vehicle may be daunting, especially the concept of water holding tanks. It’s a part of camper living that most people like to avoid thinking about, especially the dreaded black-water tank. But, with a few tips and helpful items, tank maintenance and dumping can be a breeze and you can focus on the rest of your camping adventure.
Types of Tanks and Their Care
For starters, there are three water holding tanks to worry about on an RV: your fresh water, grey water, and black water tank.
The one we will start with is the easiest. Any water th at you use in daily life, from faucets, showers, and toilets comes from your fresh water tank.
The grey water holds any water that has been used from sinks or your shower.
For first timers it’s important to note that the pipes in an RV are smaller than the average house, so even the smallest food particles from a sink have the chance of clogging a drain.
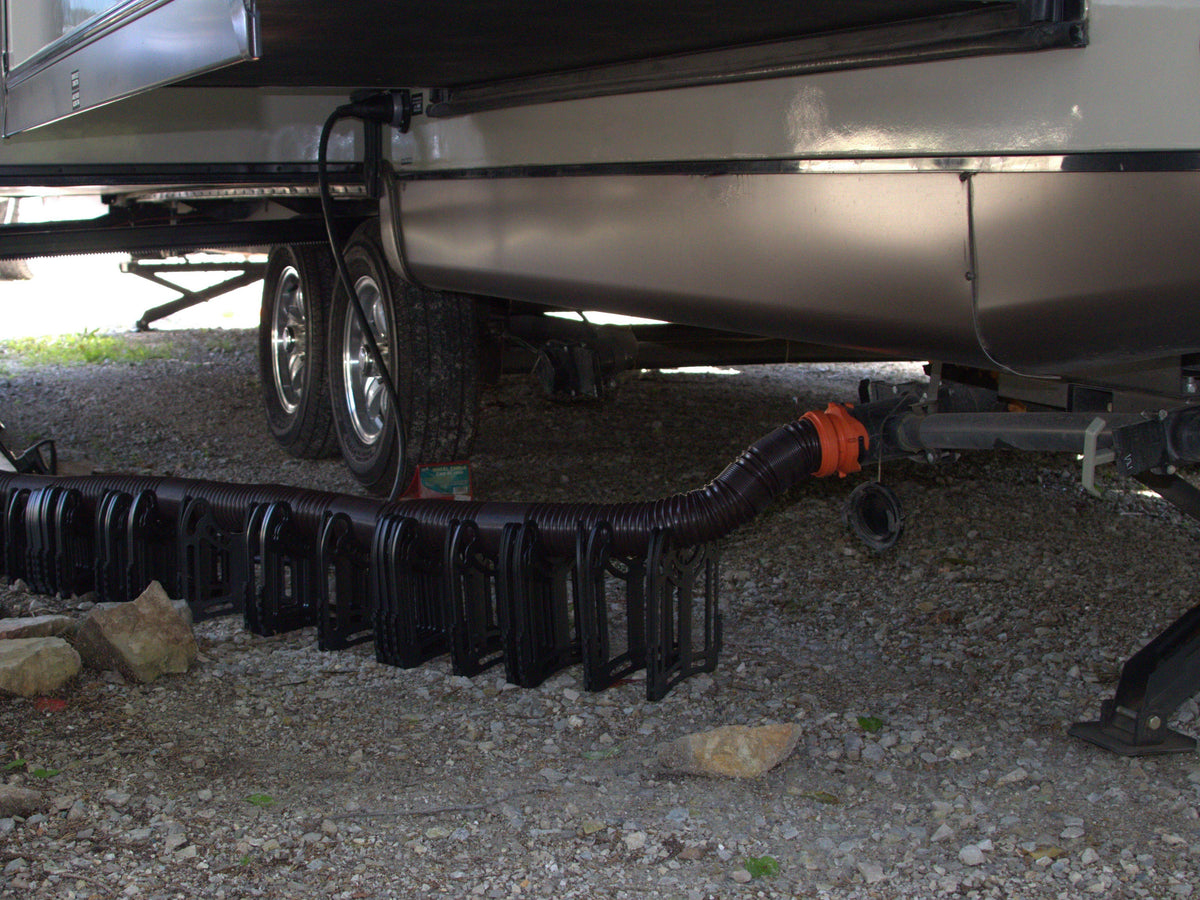
This holds water that has been used in the toilet. In turn, the inhabitants of this tank are considered hazardous waste and need to be dealt with in the proper ways. Thankfully, it isn’t nearly as bad as it may first seem.
When it’s time to empty the RV tanks

Supplies
Pre-make a list of items you need for proper maintenance and it may be a good idea to sketch out a list of steps for your first time. Make sure to use toilet paper made for RV systems or simple single-ply works as well.

Only dump your tanks at marked dumping areas, that way camping areas stay clean and beautiful for everyone.
Relax, and enjoy your journey.